
Sourdough Pumpkin & Chocolate Bread
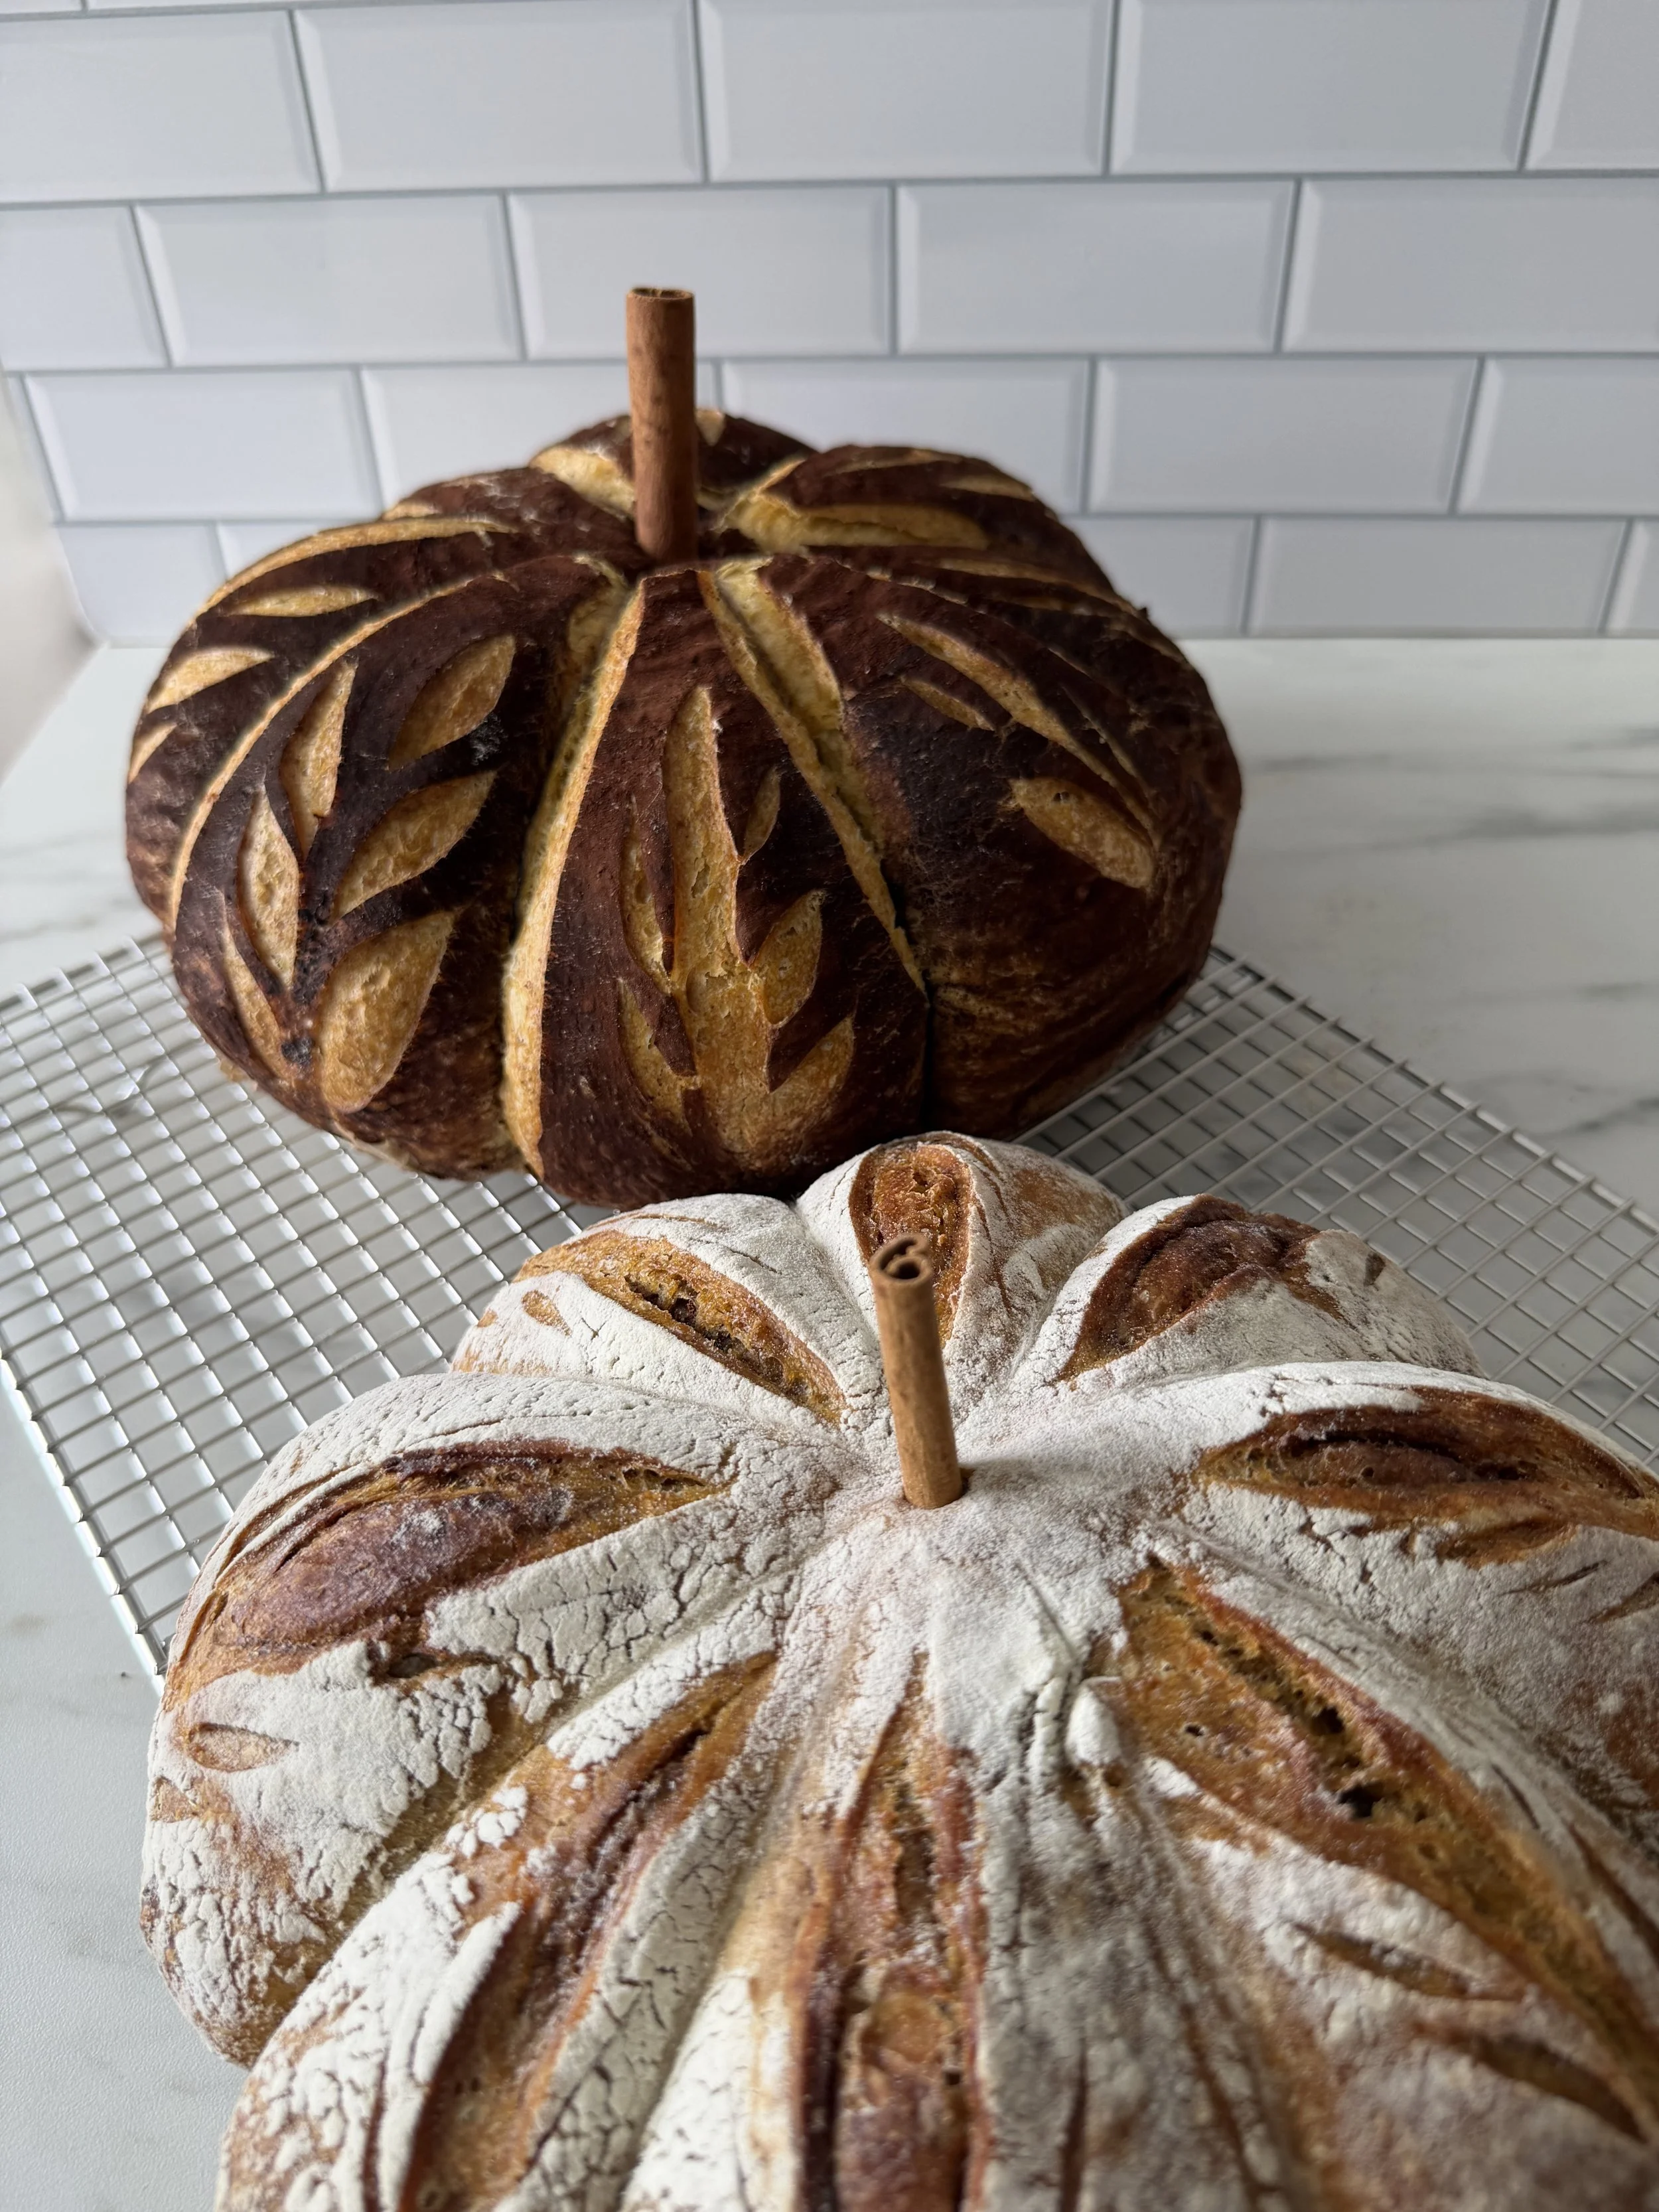
Ingredients
For the Dough
150 g active sourdough starter
2 cups water (approximately 475 ml)
1 can pumpkin purée (approximately 15 oz / 425 g)
700 g bread flour
100 g whole wheat flour
1½ teaspoons salt
For the Chocolate Filling and Coating
Mini chocolate chips, as desired
2 tablespoons dark cocoa powder
Instructions
Part 1: Prepare the Dough
Step 1: Mix the Ingredients
In a large mixing bowl, combine the active sourdough starter, water, and pumpkin purée. Stir until the mixture is well combined.
Add the bread flour, whole wheat flour, and salt. Mix until all the flour is incorporated and a rough, shaggy dough forms. The dough may feel sticky because of the pumpkin, which is normal.
Cover the bowl and let the dough rest for about 30 minutes to allow the flour to hydrate.
Step 2: Add the Cocoa Powder and Chocolate Chips
Sprinkle the dark cocoa powder over the dough and gently work it in until the color is evenly distributed. Add the mini chocolate chips and fold them into the dough.
If you prefer visible chocolate swirls rather than a uniformly chocolate-colored loaf, reserve some of the cocoa powder and chocolate chips for the shaping stage.
Step 3: Stretch and Fold
Over the next 3 hours, perform one set of stretch and folds approximately every hour.
With slightly damp hands, gently lift one side of the dough, stretch it upward without tearing, and fold it over the center. Repeat from all four sides.
Cover the dough between each set. These folds help develop strength and structure without traditional kneading.
Part 2: Ferment the Dough
Step 4: Bulk Fermentation
After the final stretch and fold, cover the dough and allow it to continue fermenting at room temperature for approximately 3 hours, or until it looks slightly risen, airy, and more elastic.
Because pumpkin adds moisture and can affect fermentation, use the dough's appearance and texture as your guide rather than relying only on the clock.
Step 5: Cold Fermentation
Cover the bowl securely and refrigerate the dough overnight. The slow fermentation develops the sourdough flavor and makes the dough easier to handle.
Part 3: Shape the Bread
Step 6: Prepare the Dough for Shaping
Lightly flour your work surface and gently turn out the chilled dough. Stretch it into a rough rectangle, taking care not to press out all the air.
Step 7: Add the Chocolate Filling
Sprinkle additional mini chocolate chips and any reserved cocoa powder over the dough, if desired. Fold the dough over the filling and shape it into a round or oval loaf.
Pinch the seams closed and place the loaf seam-side up in a lightly floured proofing basket or a bowl lined with a clean, floured kitchen towel.
Step 8: Second Proof
Cover the dough and refrigerate for approximately 6 hours, or until it has developed a little more volume and feels aerated. The exact time will depend on the strength of your starter and the temperature of your refrigerator.
Part 4: Bake the Bread
Step 9: Preheat the Oven
Preheat your oven to 420°F (215°C). If using a Dutch oven, preheat it as well according to the manufacturer's instructions.
Step 10: Prepare the Loaf
Carefully transfer the dough into your baking vessel lined with parchment paper. Score the top with a sharp bread lame or knife to allow the loaf to expand during baking.
Step 11: Bake Covered
Cover the loaf with a lid or suitable oven-safe cover and bake for approximately 25 minutes.
Step 12: Finish Baking
Remove the cover and bake for another 10–20 minutes, or until the crust is well browned and the loaf is baked through. Pumpkin dough can retain moisture, so check that the center is fully cooked.
Step 13: Cool Completely
Remove the bread from the oven and allow it to cool completely on a wire rack before slicing. This is especially important for pumpkin sourdough, as cutting too early can leave the interior gummy.
Tips for the Best Pumpkin Chocolate Chip Sourdough
Use active starter: Make sure your starter is bubbly and active for the best rise.
Adjust the water if needed: Pumpkin purée adds moisture, so hold back a little water initially and add more gradually if the dough feels too stiff.
Choose pure pumpkin purée: Use plain pumpkin purée rather than pumpkin pie filling, which already contains sugar and spices.
Prevent burning: Chocolate chips exposed on the crust can darken quickly, so keep most of the chocolate inside the loaf.
Be patient before slicing: Let the bread cool fully to help the crumb set properly.
Storage Tips
Room temperature: Store the completely cooled loaf in an airtight container or bread bag for up to 2–3 days.
Refrigeration: Refrigeration can dry out bread, so room-temperature storage is preferable for short-term use.
Freezing: Slice the cooled loaf and freeze in a sealed freezer-safe bag for longer storage. Toast individual slices straight from frozen.
Enjoy this homemade pumpkin chocolate chip sourdough with your favorite warm drink, or toast a slice for a delicious fall breakfast!